
TOOLS & PARTS REQUIRED
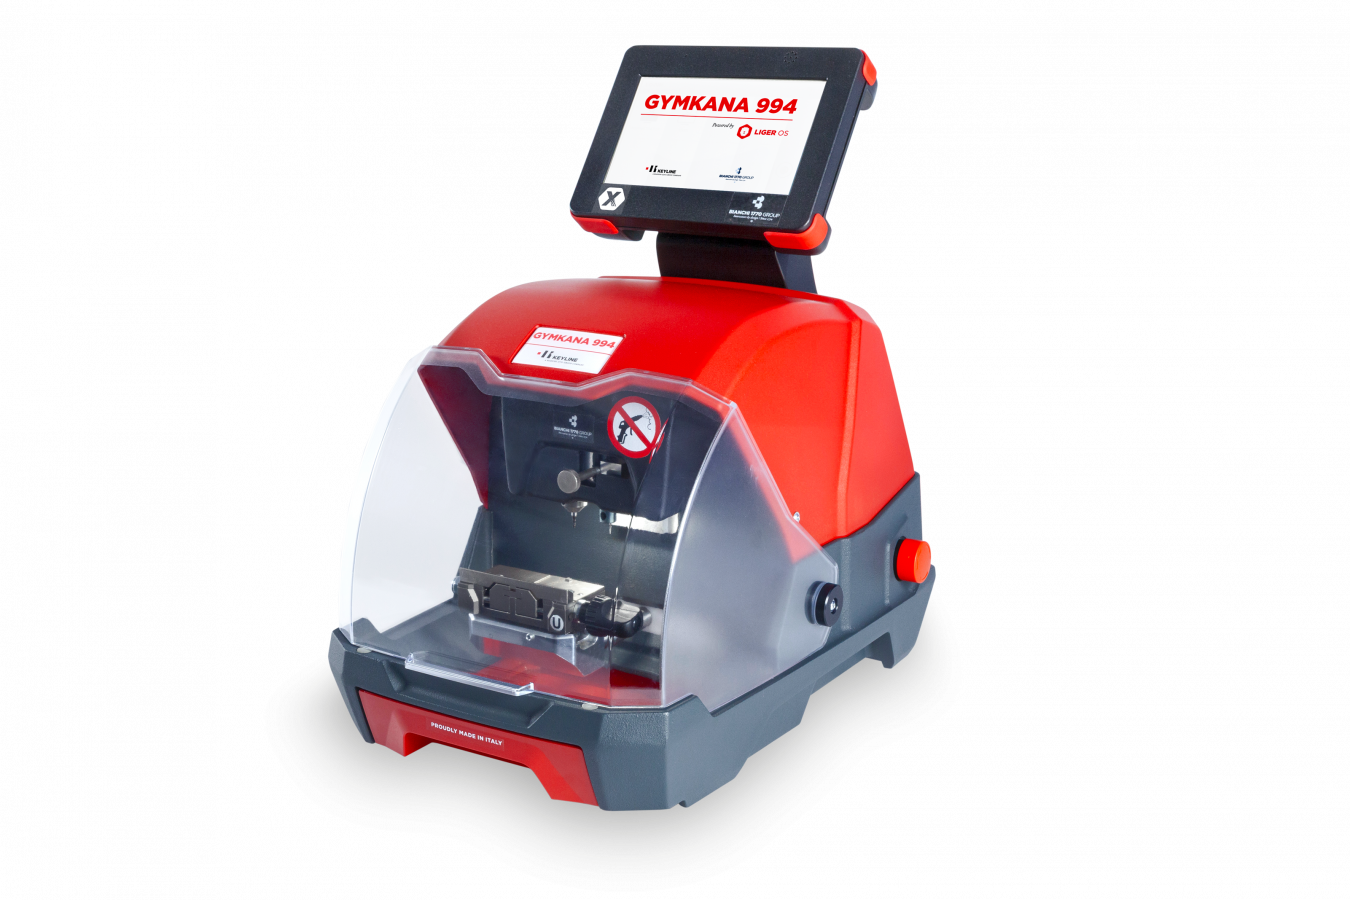
- Keyline Gymkana 994 Electronic Key Machine with Console
- T08 Tracer (Included with the Gymkana)
- V037 2mm Cutter (Included with the Gymkana)
- H-Clamp for Keyline Gymkana (Sold Separately)
- FO21 Tibbe Key
- The Alan Key provided with your Gymkana
- A small brush to clean the cutting bay
- A wire brush to polish
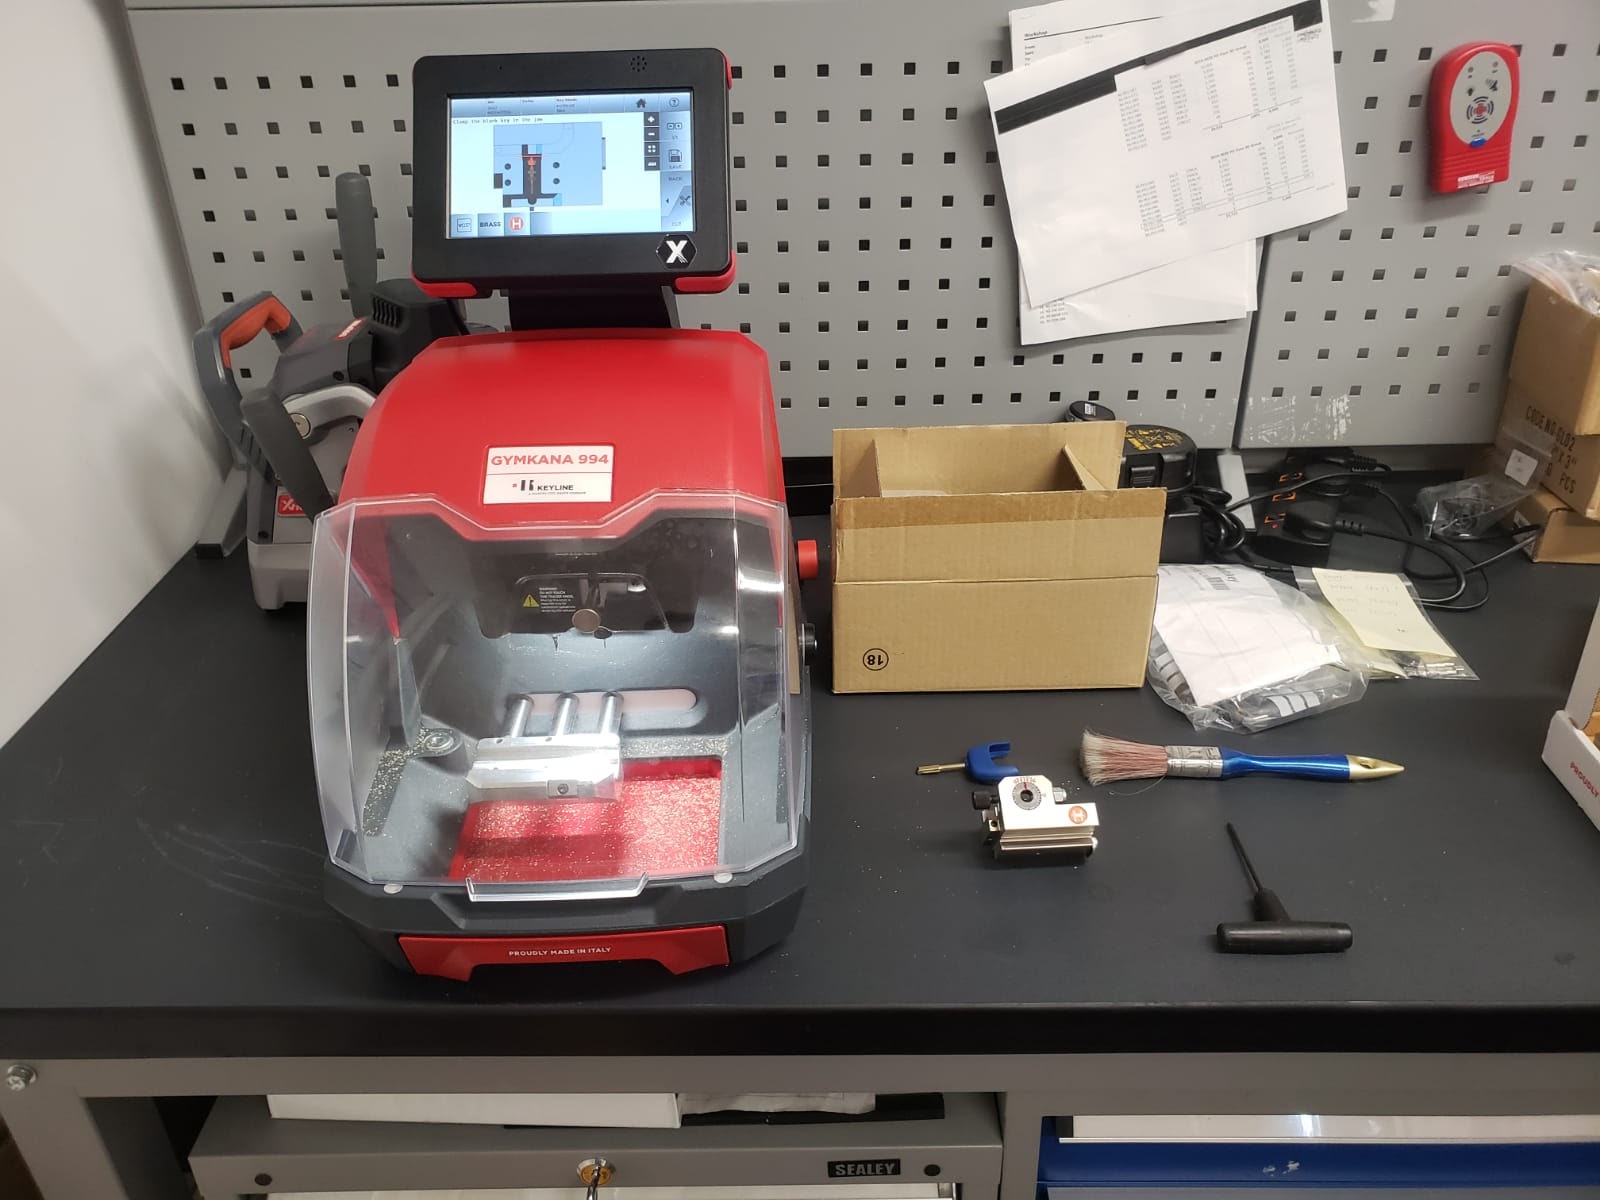
Firstly, always make sure the cutting bay is free of metal filing; you should clean the machine between each cut to ensure no tracer errors occur. There are multiple ways to program the Gymkana before cutting a tibbe key; you can either take the code series of the blank FO21 and input that into the Gymkana, you can cut to a vehicle if you have the information to hand or as we did in this example, which was carried out as part of our quality control process, cut to bittings.
First Step
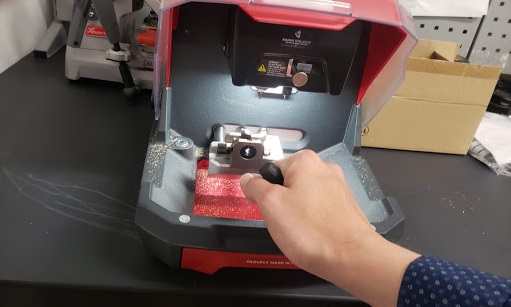
1. Take the H-Clamp out of the Gymkana and place the key flat in position one, then attach the H-Clamp to the Gymkana’s cutting bay using the Alan tool provided to tighten the grub screw on the cutting bay clamp fitting.
Second Step
2. Then, once the key is in the correct position, we go through the process of ‘Finding the profile’ and inputting the bittings.
Third Step
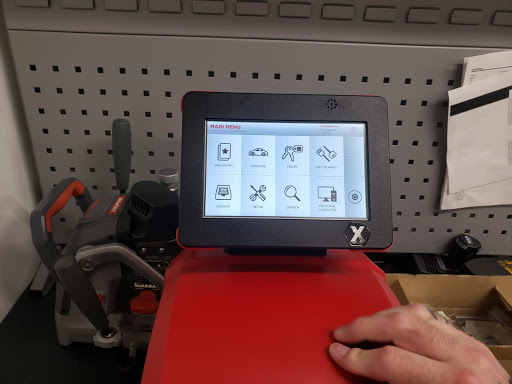
3. First, click ‘Key blanks’ and search for your part, which in this case is the FO21 and select it. Once selected, the screen below will appear. Select your key and proceed.
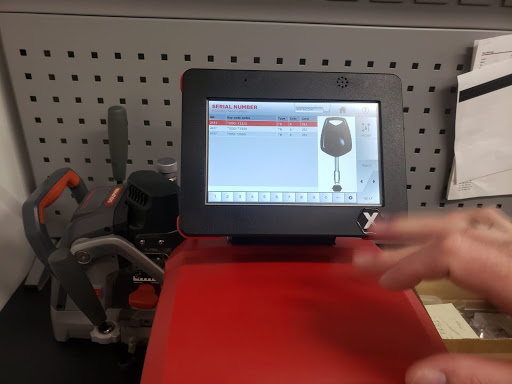
Fourth Step
4. You will then be given four options; select the ‘Direct’ option to input your bittings.
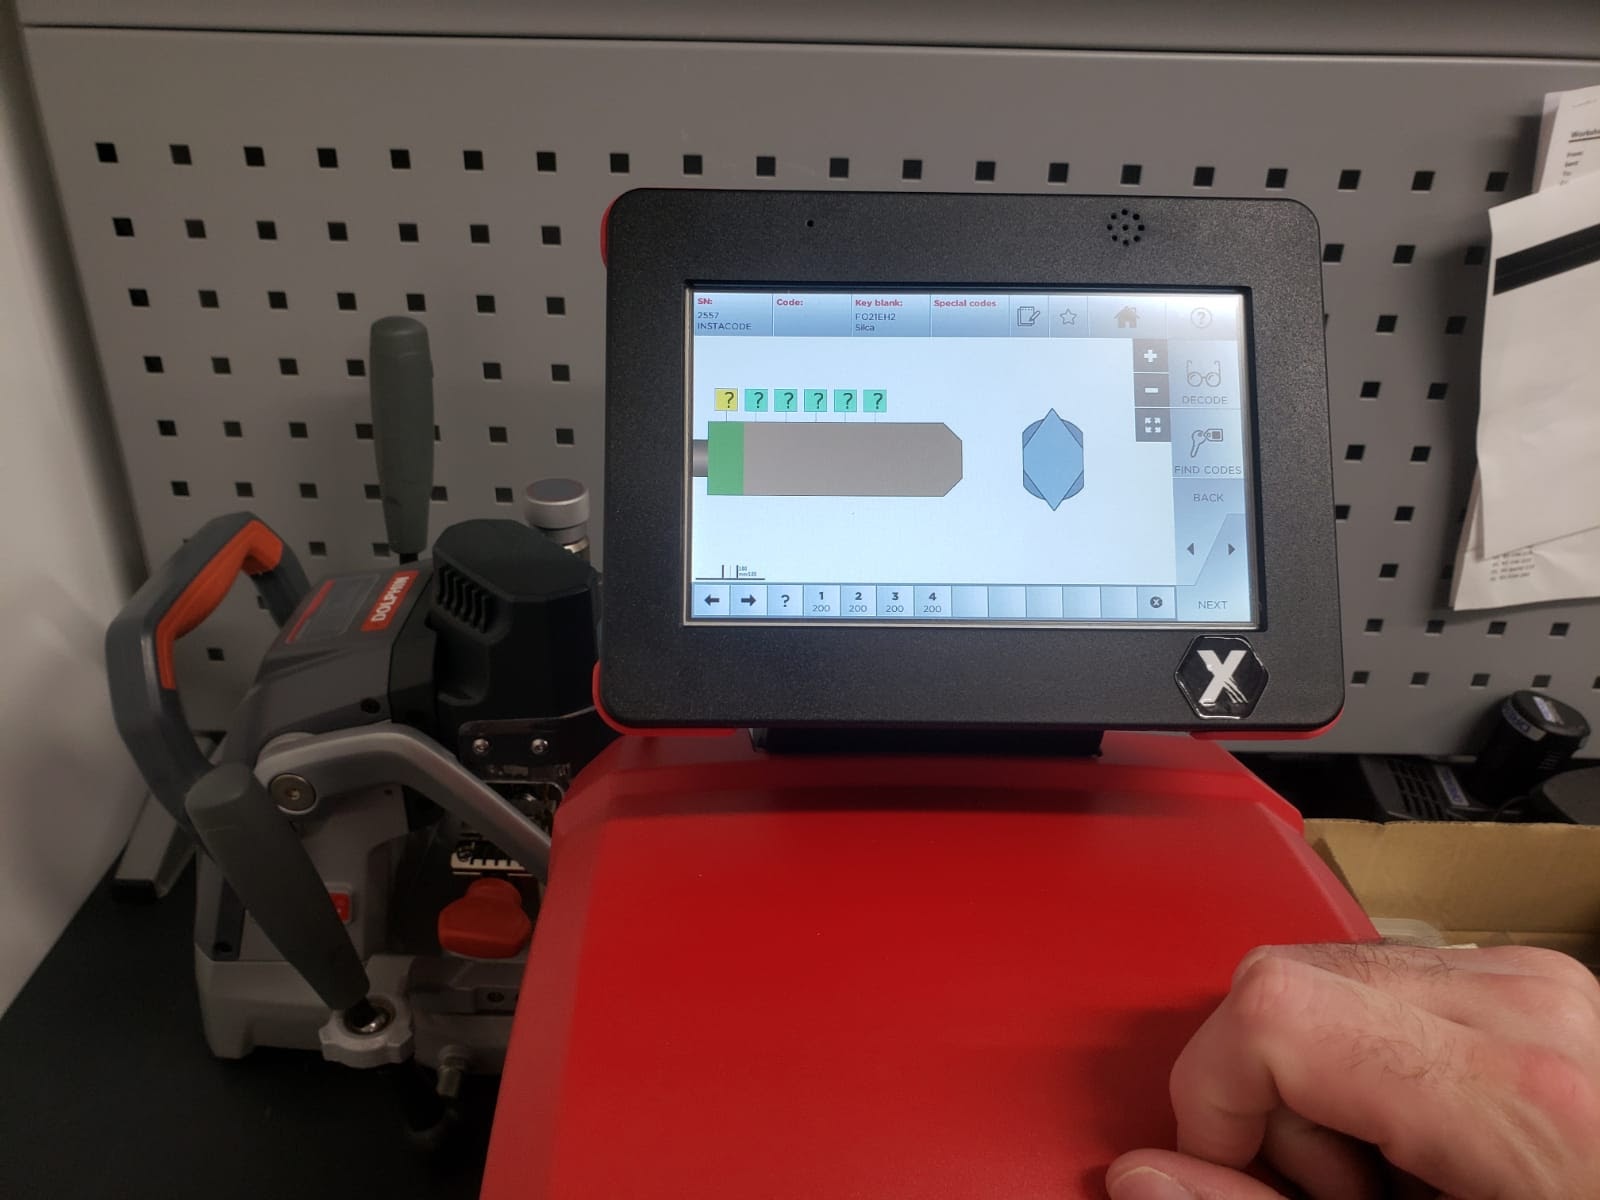
Fifth Step
5. Simply enter your bittings bow to tip using the buttons below. It literally couldn’t be easier.
Sixth Step
6. The Gymkana will then get to work at this point, but first, it might prompt you to recalibrate it if it does simply follow the instructions on-screen.
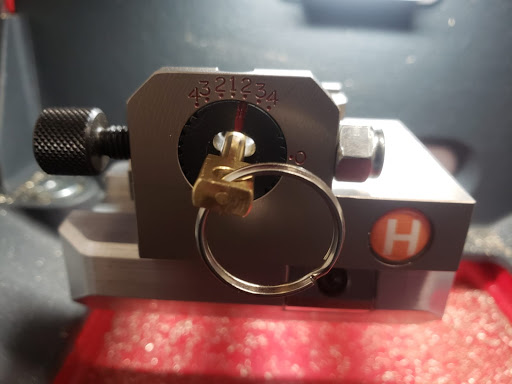
Seventh Step
7. The Gymkana will then find position one. Once this is done, it will prompt you to rotate the gauge positioned on the face of the H-clamp to position 2 Left. To do this, simply untighten the bolt holding the key in place on the front left-hand side of the clamp and rotate the key until the red line on the gauge points to position 2 of the clamp, lock it off and continue.
Eighth Step
8. Once all six cuts are made to the top side of the FO21 key blank, it will prompt you to flip the key 180 degrees and replace it in the clamp so it can repeat steps 7 through 10 again. Once this is complete, you now have your tibbe key.
Ninth Step
9. Finally, all you need to do is buff it with a wire brush to remove any metal fragments, and it is ready to use.
Happy locksmithing!