
There's nothing quite like opening a new machine! Taking it out of the box for the first time and seeing the tool you have been dreaming about buying.
But we know this can come with some nerves, you don't have a lot of spare time, and you need the set-up process to be as quick as possible.
Below are the steps to get your new Alpha key-cutting machine from the box to cutting your first key!
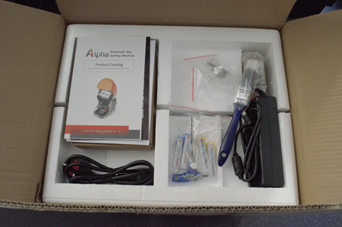
WHAT DOES THE BOX LOOK LIKE?
When you receive your Kukai Alpha Pro machine, it will be neatly packaged.
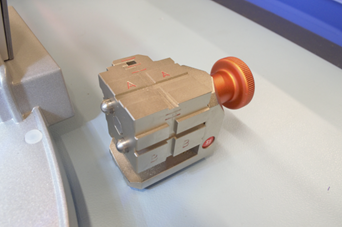
Step 1: Start with the S1 clamp.
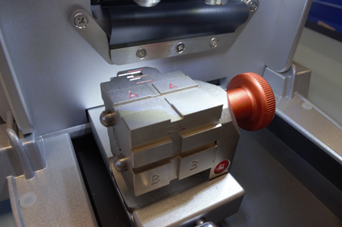
Step 2: Slide the clamp into position.
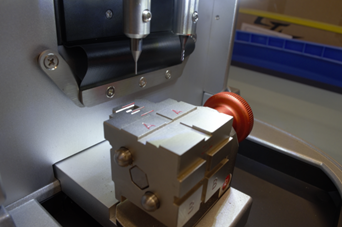
Step 3: Insert tracer into place.
"I love the chunky grubscrews on this model. There's much less chance of rounding off", Matt, senior quality control advisor.

Step 4: Next, insert the tracer into the machine.
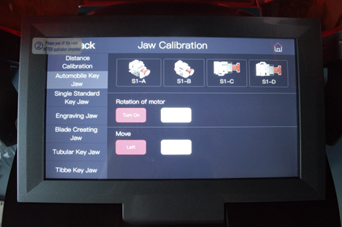
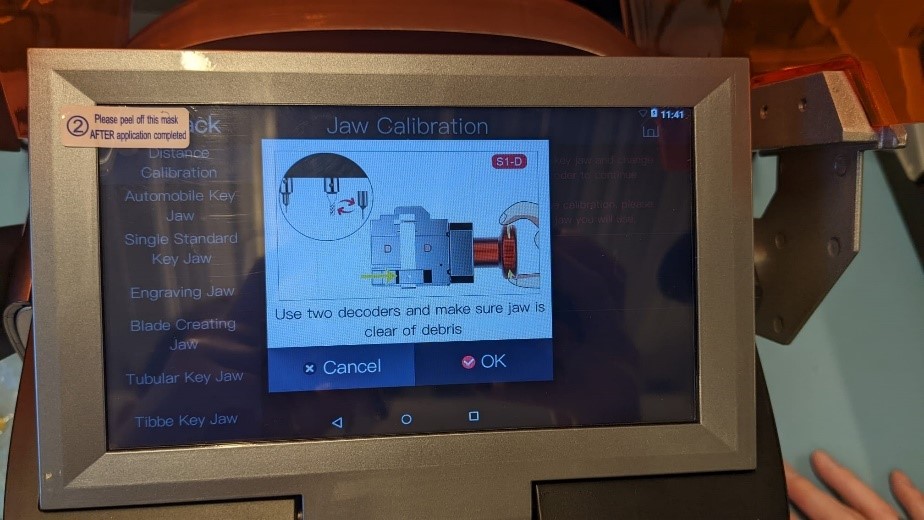
Step 5: Go to the jaw calibration page on the screen.
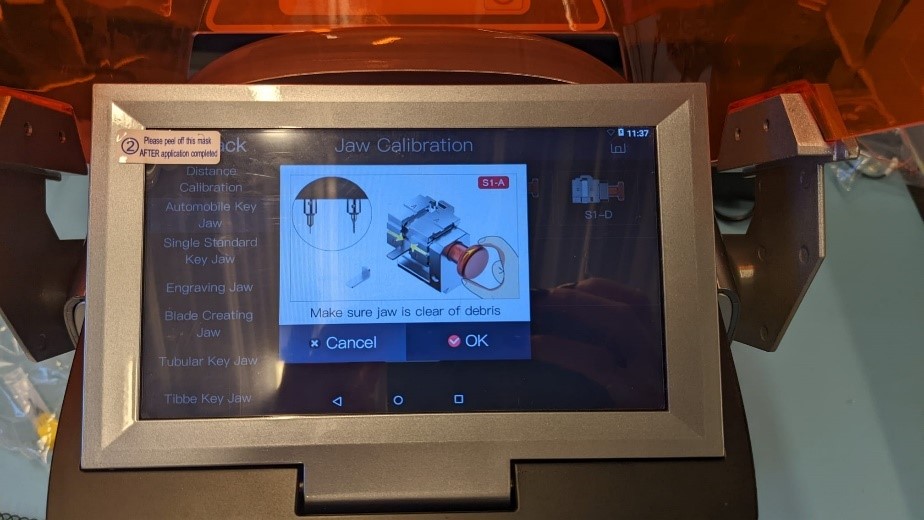
Step 6: Calibrate side A.
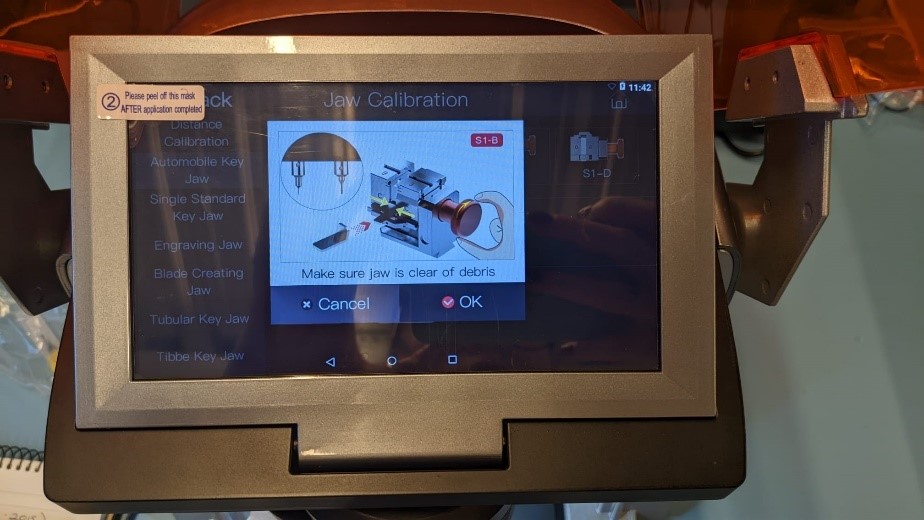
Step 7: Calibrate side B.
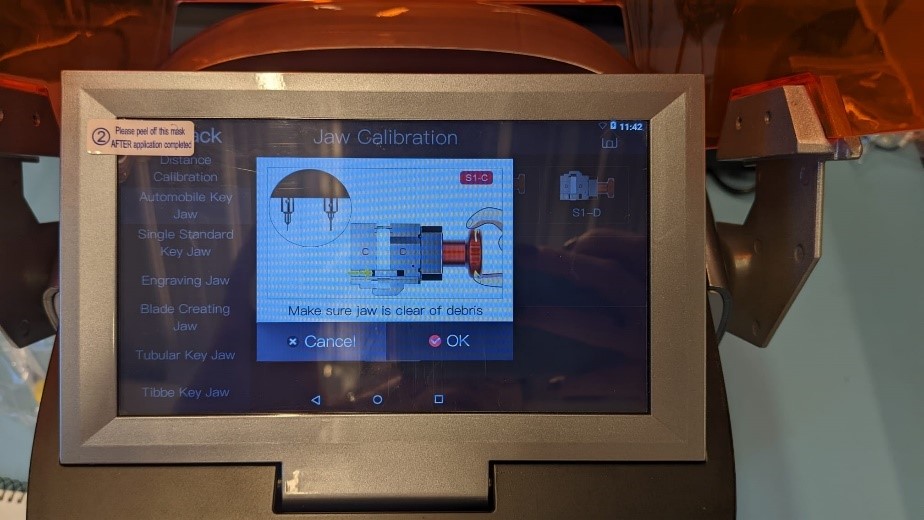
Step 8: Calibrate side C.
Step 9: Calibrate side D.
"The set-up process couldn't be more simple and straightforward! The initial set-up will take you no longer than 15 minutes, and you're up and running.", Matt, senior quality control advisor.
TIPS
Alpha automatic key-cutting machine can duplicate keys without key data in the database. This includes single standard, double standard, single external groove, double external groove, internal groove, and tubular.
We use the HU162 as an example. If you have any questions, get in touch, we'd love to help.
Remember to replace the right-hand spindle with the cutter.