Experience the convenience of versatile remotes designed with a touch of built-in magic, allowing you to effortlessly approach the task. These remotes are fully compatible with the 4A range, including processor variants A3M05, 15, and 65, and are tailored to meet all your needs. Should you encounter any programming issues, simply unlock it and reuse the key - it's that simple!
Say goodbye to costly mix-ups and ensure you're always equipped with the perfect remote for every vehicle. Discover how to configure a TrueKey PSA remote in our latest step-by-step tutorial below.
Reasons to love TrueKeys PSA proximity remotes
TrueKeys PSA Proximity remotes simplify key programming for locksmiths with reliable and consistent performance. Enhance efficiency and reduce downtime with easy unlocking and reprogramming. Built for durability, they are perfect for daily use.
Key features of TrueKeys PSA proximity remotes
Some of the key features of the TrueKeys PSA Proximity remotes include the following:
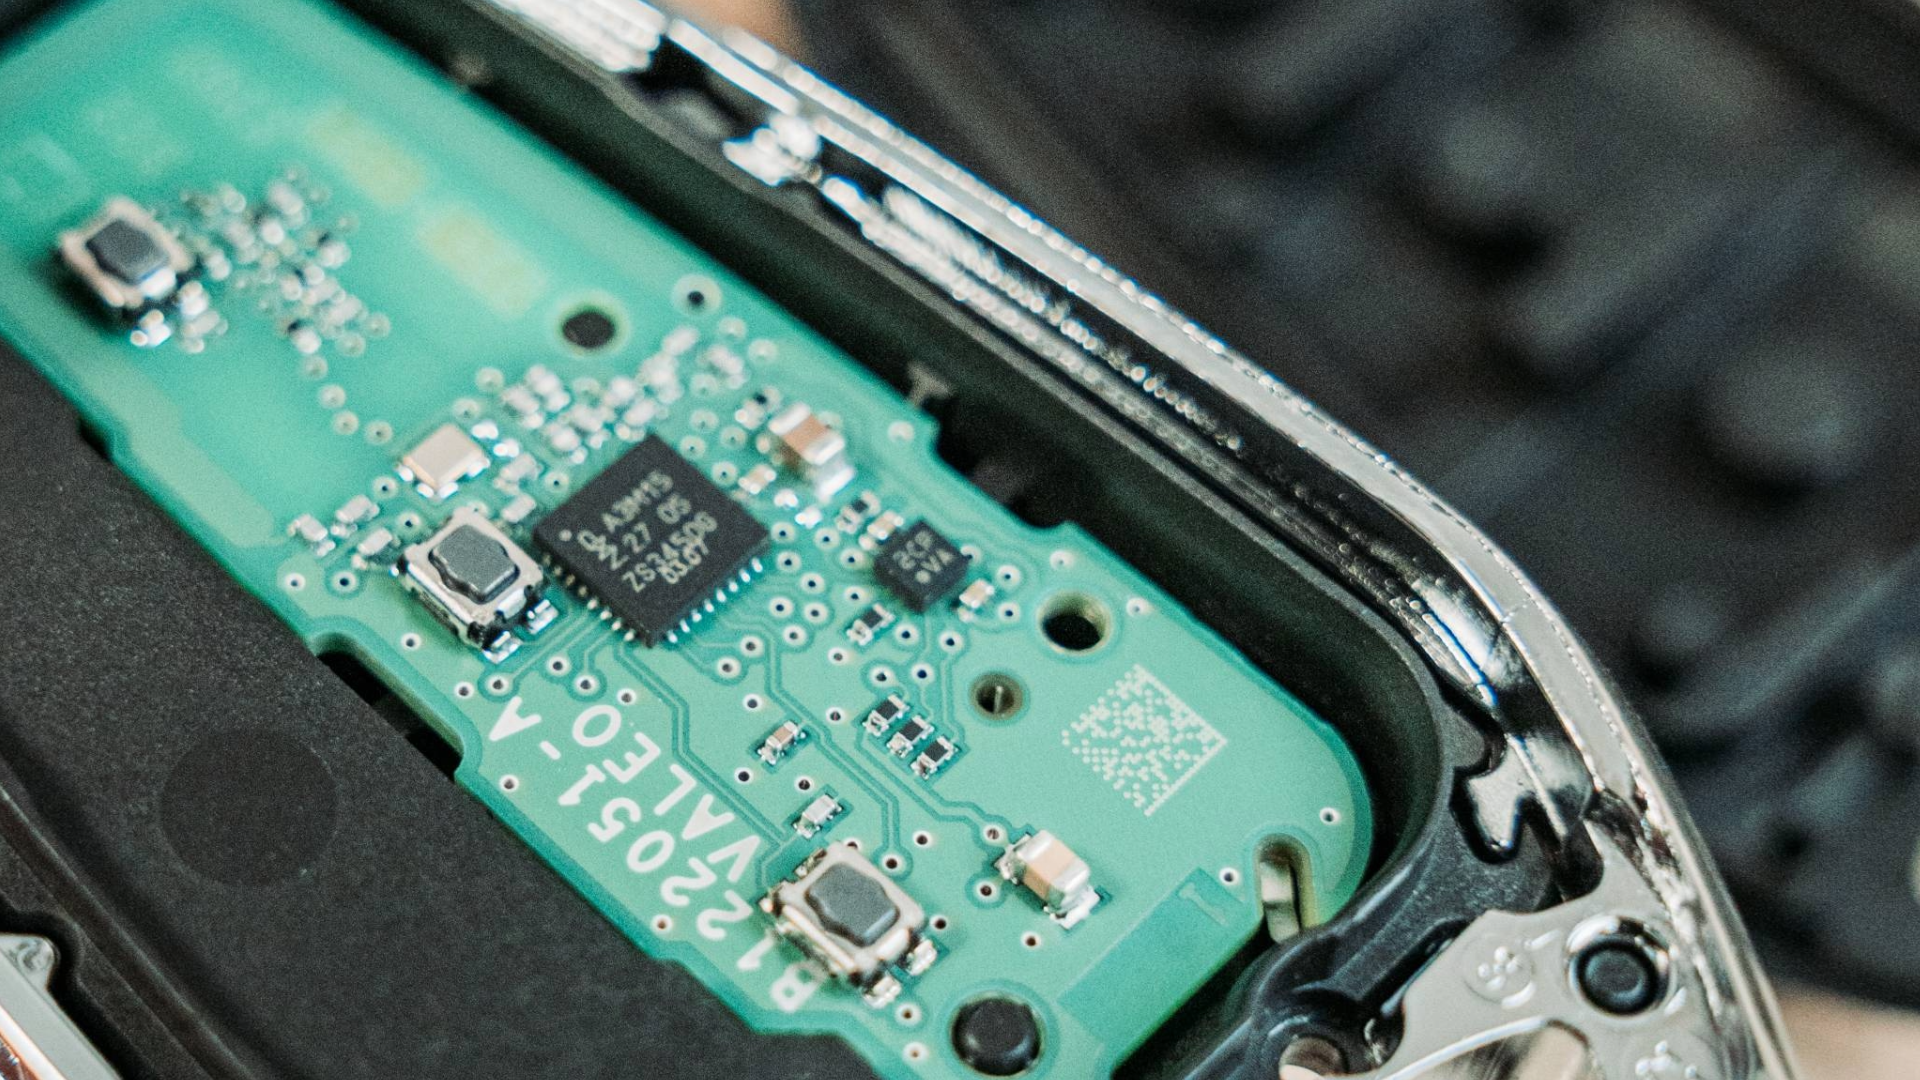
- Compatible with PSA 4A systems - A3M05, A3M15, A3M65 processors.
- Easy to program and unlock for reuse.
- Multi-stage configuration mode for accurate setup.
- Simple design for quick installation.
Discover how to configure a TrueKey PSA remote with our step-by-step tutorial:
- Start by removing the back plate of the original key carefully to avoid damaging clips or connectors.
- Unscrew the screws holding the inner components. Keep the screws in a safe place.
- Detach the front plate from the midframe.
- Locate the chip inside the remote, which is usually a small rectangular component.
- Open your TrueAutomotive remote by removing the back plate and battery to access the internal components.
- Identify the programming buttons: Unlock - M15, Boot - M05, Lock - M65.
- Press and hold the lock button, marked with a lock symbol.
- While holding the lock button, insert the new battery.
- Keep holding the battery and lock button firmly during programming.
- Maintain pressure for 30 seconds to program the key successfully.